Account Linking Tutorial: Getting User’s Amazon Email in Alexa Skill
Did you know you can request the user’s Amazon email address directly from your Alexa Skill?
In this step-by-step guide, you’ll learn how to use Account Linking and Login with Amazon features to accomplish that!
Table of Contents
- How does Account Linking work?
- Setting up Security Profile for Login with Amazon
- Enabling Account Linking in Amazon Developer Console
- Add Redirect URLs to Security Profile
- Asking Users to Link their Account in BotTalk
- Getting the user’s Amazon email address in BotTalk
How does Account Linking work?
Account Linking is a feature introduced by Amazon that allows the developers to establish a connection between the user of Alexa Skill and another system. For example, you may have a website or an app with an existing user base. You now have created an Alexa Skill as well. Now what you want it to connect the user’s Alexa account with an account on your website or app.
Once you have enabled Account Linking in your Alexa skill, the user sees this as a requirement. The Alexa app automatically starts the account linking process, once the user has clicked on the Enable button:
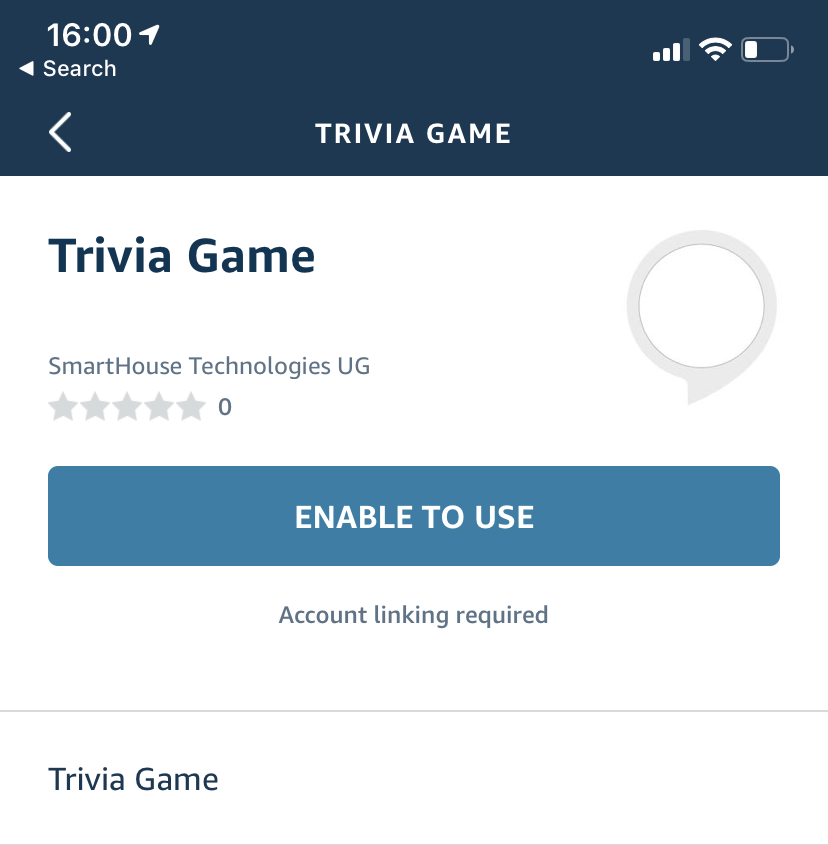
A user can skill the account linking process, or enable the skill using voice instead of the Alexa app. In this case, the skill can request the Account Linking by sending the Link Account Card:

The process of linking the account is straight-forward for the users and consists of three steps:
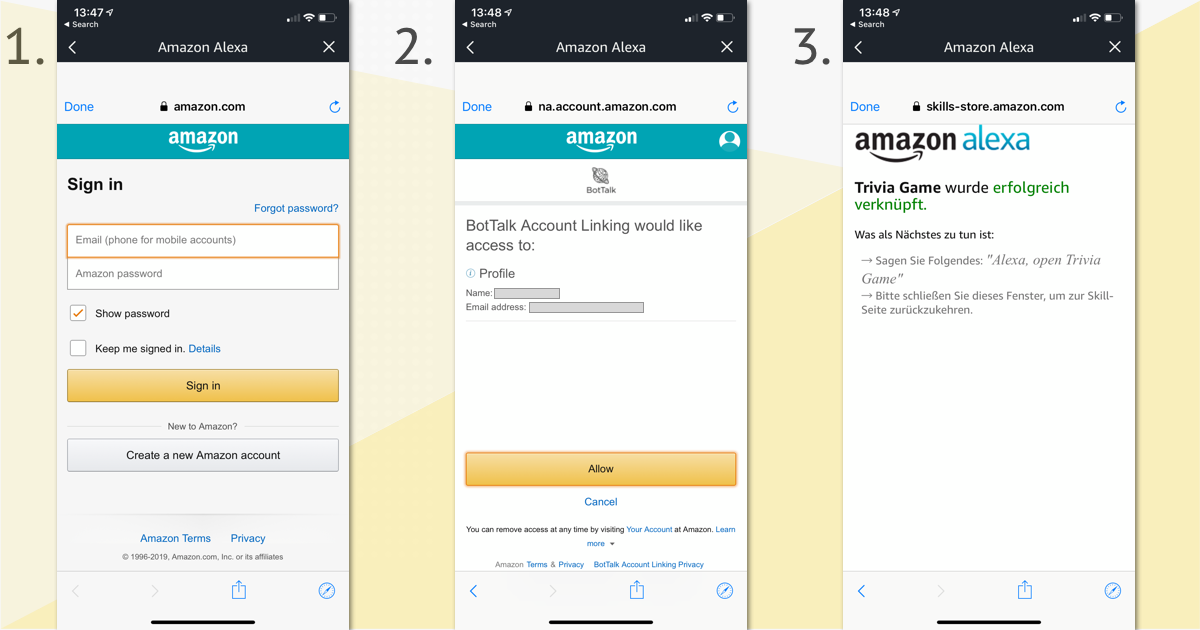
- The app displays the login screen of your website (we will use Login with Amazon service)
- The user submits the credentials to authenticate with the service
- The “success” page is displayed
What if you don’t have a website or an app, but still want to access the user’s Amazon email address from your Alexa Skill? Well, for that you can use the excellent service - Login with Amazon! You’ll learn how to do that in the next section of this tutorial.
Setting up Security Profile for Login with Amazon
To set up the Login with Amazon service you first need to create a so-called security profile. Don’t worry, we’ll guide you through it step by step.
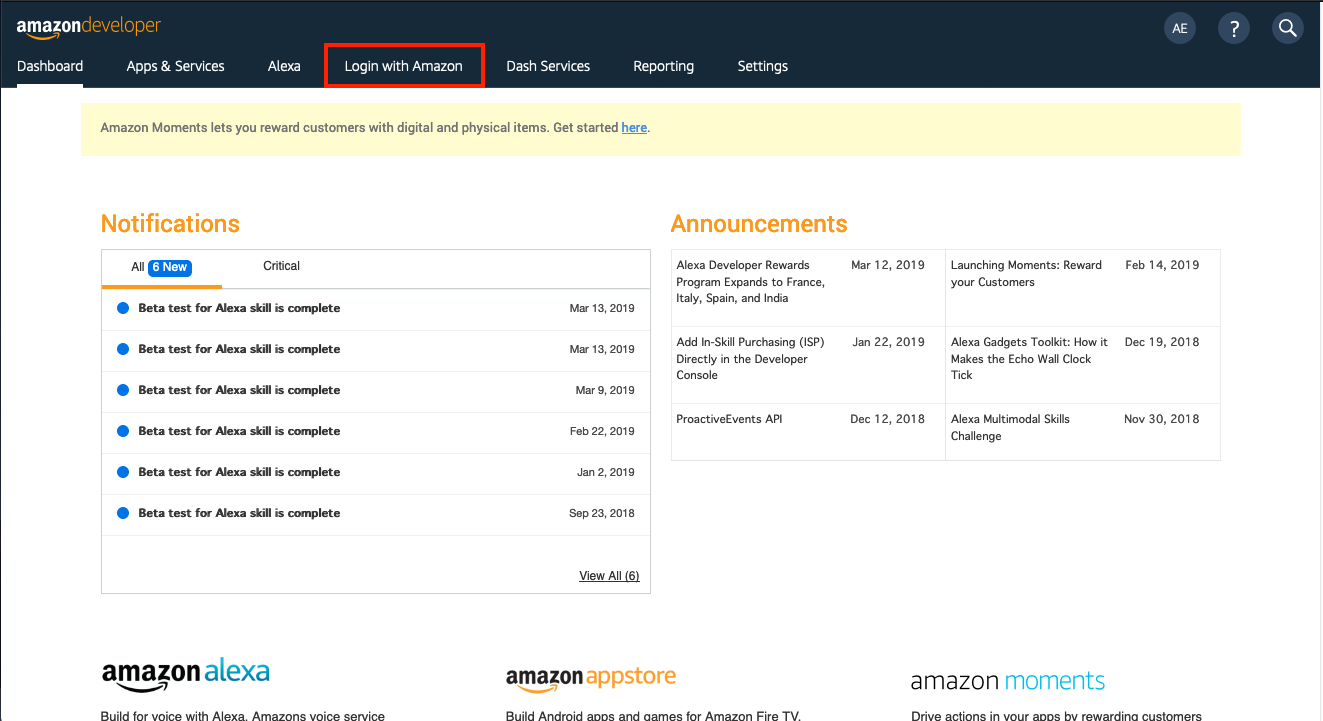
Head over to the Amazon Developer Console:

Click on the Login with Amazon in the top menu:
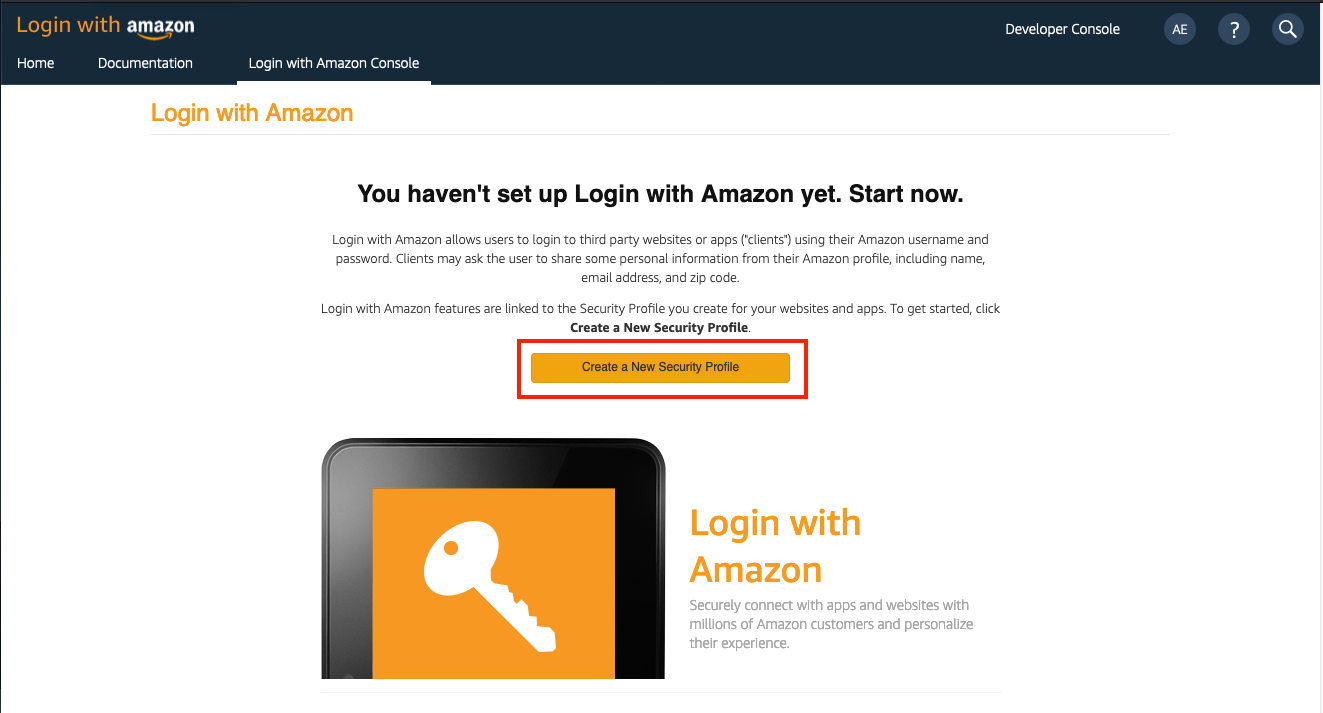
Start setting up Login with Amazon by clicking the Create a new Security Profile:
Create a new Security Profile by filling out the form:
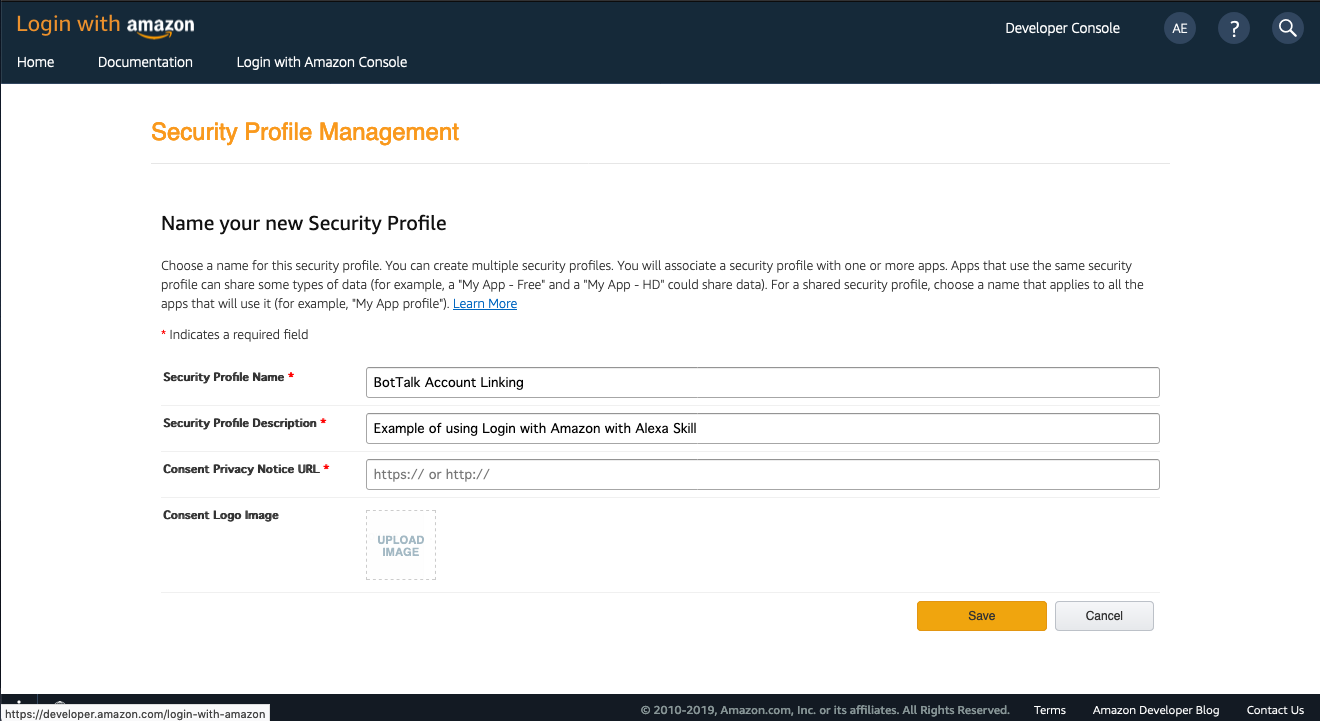
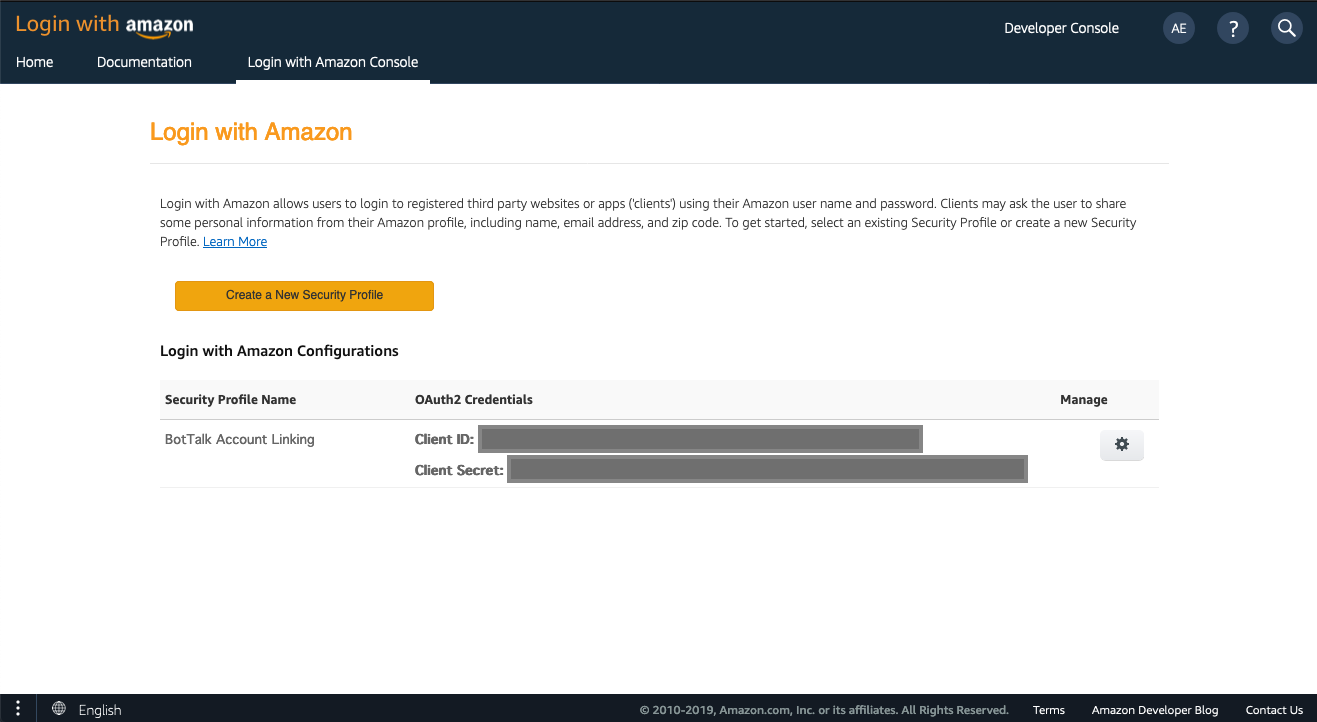
Don’t close the Security Profile page. You’re going to need Client ID and Client Secret when you set up the Account Linking in the next step of this tutorial:
Enabling Account Linking in Amazon Developer Console
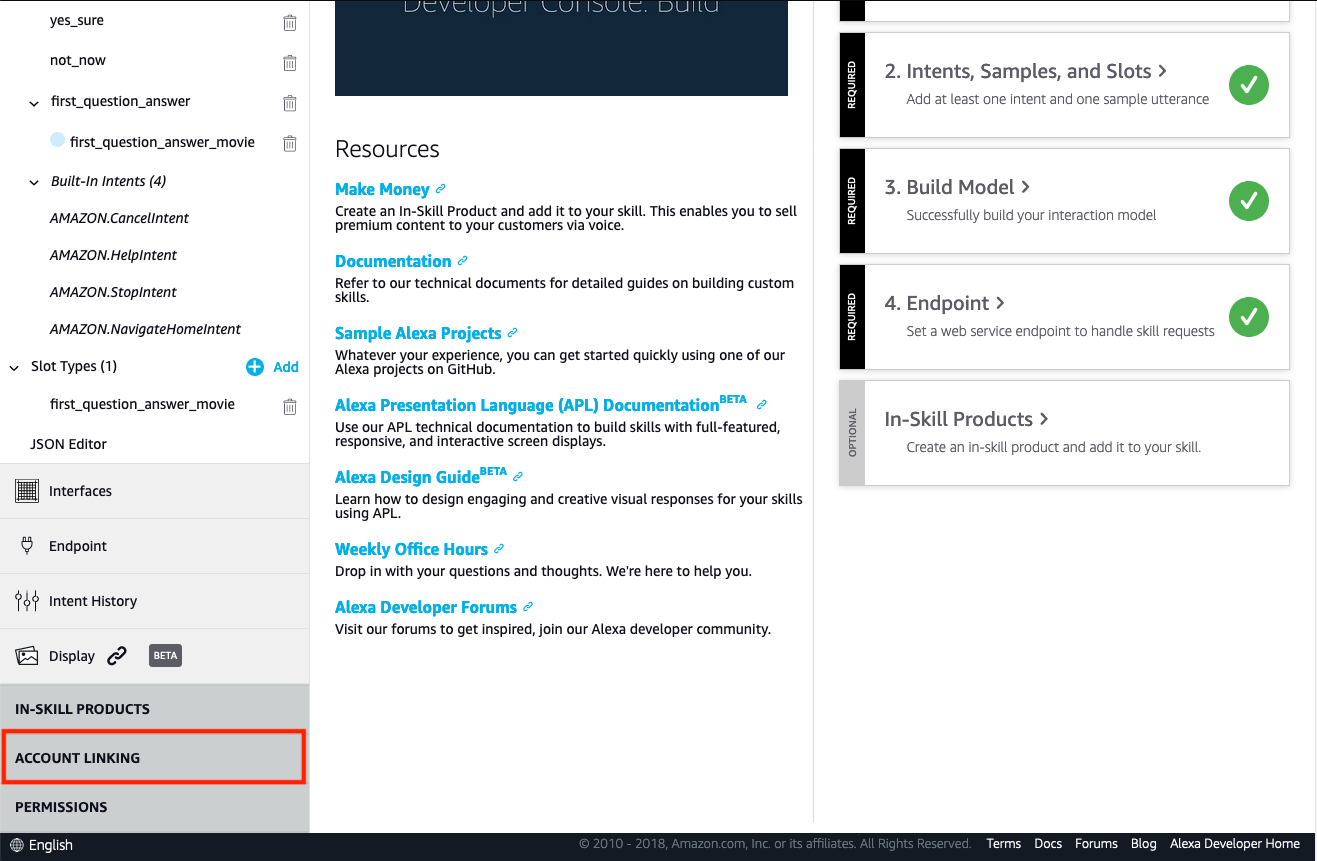
If your skill is already deployed to Amazon, you need to enable Account Linking feature in the Amazon Developer Console:
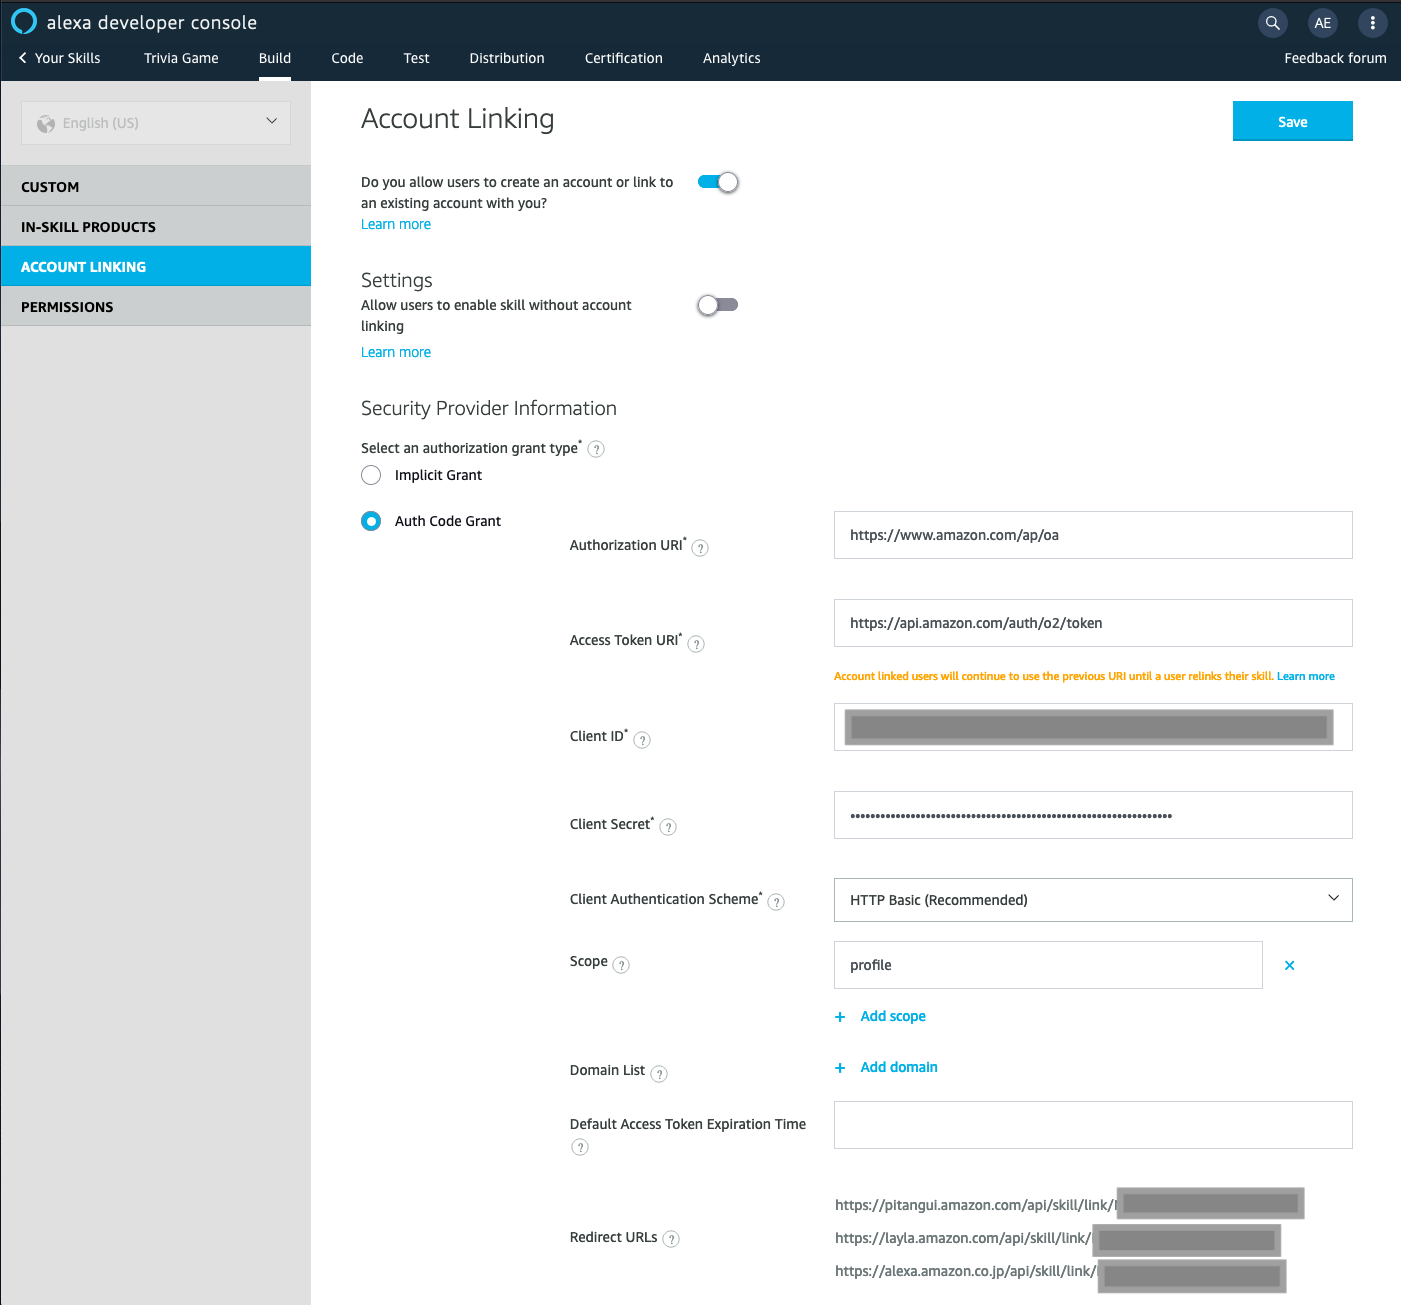
Fill the Account Linking settings form as described below:
- As an authorization grant type choose Auth Code Grant
- Fill Authorization URI with
https://www.amazon.com/ap/oa - Fill Access Token URL with
https://api.amazon.com/auth/o2/token - Copy and paste Client ID from the Security Profile
- Copy and paste Client Secret for the Security Profile
- Under Client Authentication Scheme choose HTTP Basic (Recommended)
- In Scope write
profile - Copy Redirect URLs that Amazon generated for you. You will need them in the next step. Note: You may need to Save and then reload the page to be able to copy those URLs.
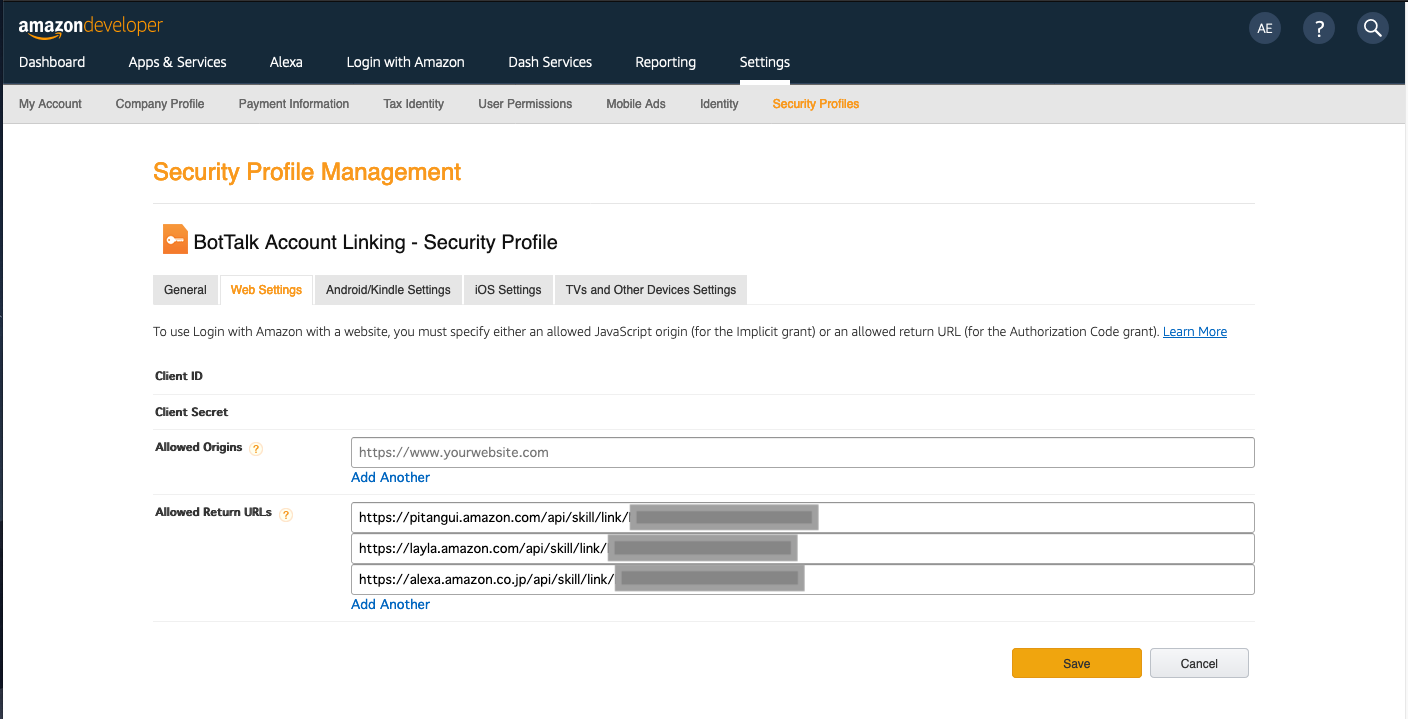
Add Redirect URLs to Security Profile
To finish up connecting Login with Amazon and Account Linking features, you need to come back to the Security Profile tab you have opened. Navigate to the Web section and paste the Redirect URLs you’ve copied in the last step of the previous section:
Asking Users to Link their Account in BotTalk
Now head over to BotTalk and create a new scenario.
To display the account linking card you have seen in the How does Account Linking work? section of this tutorial, you can use the sendCard action with the additional parameter account_link.
The URL you put into this field is one of the Web Redirect URLs you can copy from the Account Linking Tab in Amazon Developer Console:
- name: Initial step
  actions:
    - sendText: 'Please link your account in the companion Alexa App on your smartphone.'
    - sendCard:
        title: 'Login'
        text: 'Login Card Example'
        account_link: https://layla.amazon.com/api/skill/link/XXXXXXXXXXXX
This code prompts a user to link her account with sendText action. Then the account linking card is sent to the Activity tab of the Alexa App:
Getting the user’s Amazon email address in BotTalk
Once the user linked her account, a special variable appears in every request Amazon sends to your skill - accessToken.
You can now modify your script only to read the account linking text to the users that have not yet linked their account. You do that by checking if the accessToken variable is null using logical when statement:
    - name: Account Link Check
      when: 'bottalk_input.session.user.accessToken is null'
      actions:
        - sendText: 'Please link your account in the companion Alexa App on your smartphone.'
        - sendCard:
            title: 'Login'
            text: 'Login Card Example'
            account_link: https://layla.amazon.com/api/skill/link/XXXXXXXXXXXX
      next:
        else: Make Profile API Call
Now you have an accessToken; you can use this to request the user’s email address by calling an Amazon Profile API:
    - name: Make Profile API Call
      actions:
        - set: 'users_access_token = bottalk_input.session.user.accessToken'
        - http.get:
            url: 'https://api.amazon.com/user/profile?access_token='
        - sendText: 'The user e-mail is: '
In the code snippet above you first save the accessToken you receive from Amazon in a variable users_assess_token (using the set action).
You then request an Amazon Profile API with the access token as a parameter.
The response you get from that API includes email variable!
Congratulations, you now know how to get a user’s Amazon email from your Amazon Alexa Skill!
Did you like this tutorial? Please spread the world and share it on Facebook, Twitter, Reddit - whatever.
Thank you so much!
🤖